A hyperbolic pinata
Summary:
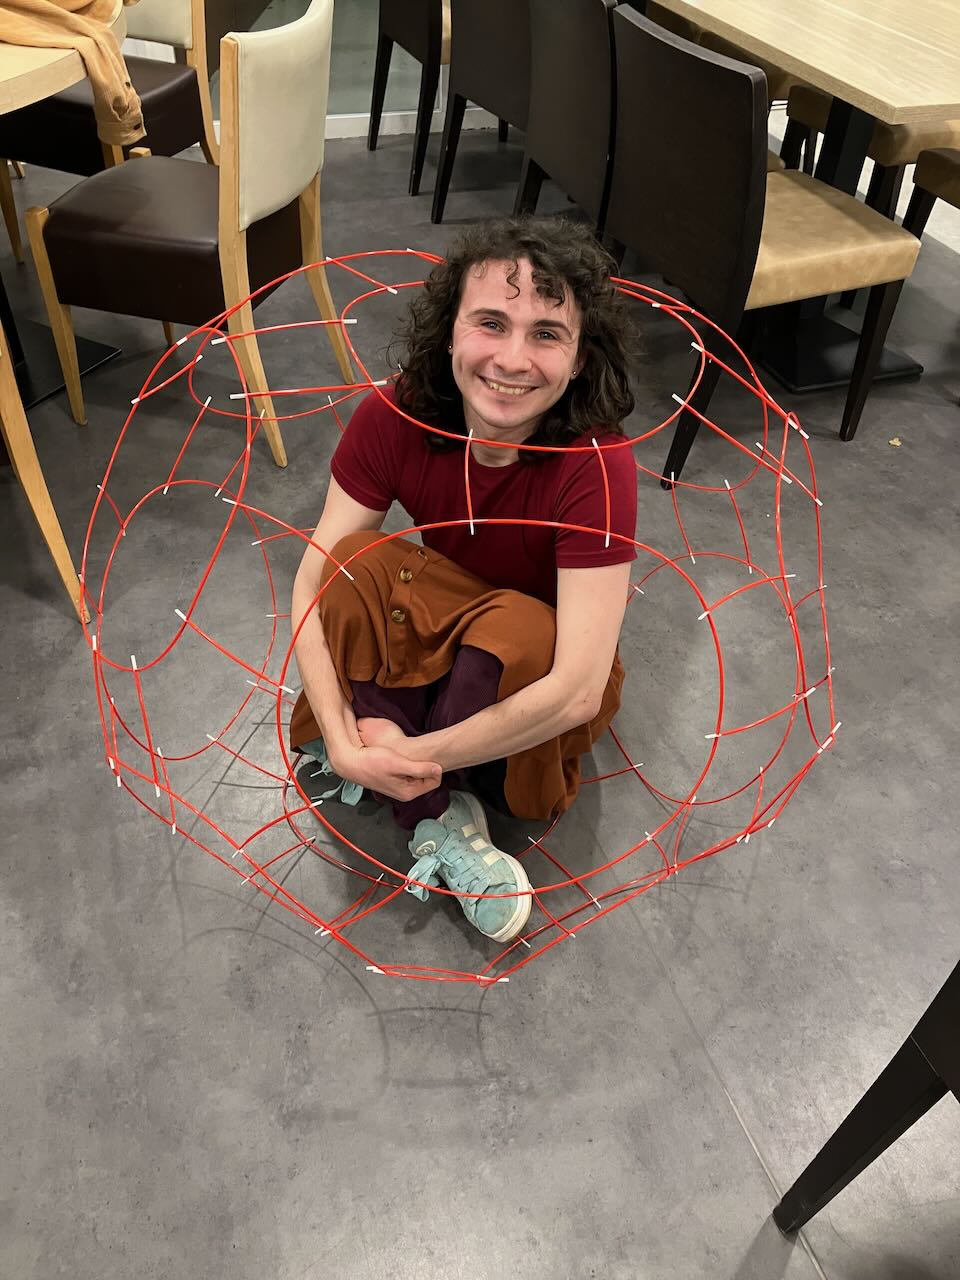
Using plastic coffee stirrers and tile spacers, one can quickly produce large polyhedra. We used this to make a hyperbolic plane, then covered it with hyperbolic paper.
Chaim goodman-strauss showed me a system for quickly and cheaply creating large, lightweight polyhedra. There are two ingredients
- Thin Plastic straws (coffee stirrers work wonders, back when we still believed in single use plastic)
- Sip n joy red sip stirrers: Link to product
- Tile spacers
- Rubi tile spacers 1/16” rigid crosses: Link to product
If you get the right brands, then the stirrers fit snugly on the spacers. Both are cheap and easy to buy en mass (though its hard to find the coffee stirrers). Getting brands that work with one another can be finicky, so I’ve linked the ones used here above.

Straws and spacers
With this, you can make any 4-valent polyhedron! The straws have some flex to them, so they bend to form nice curves. Here’s one I made during the winter school
A Truncated icosidodecahedron
And an effective lobster trap
A hyperbolic piñata
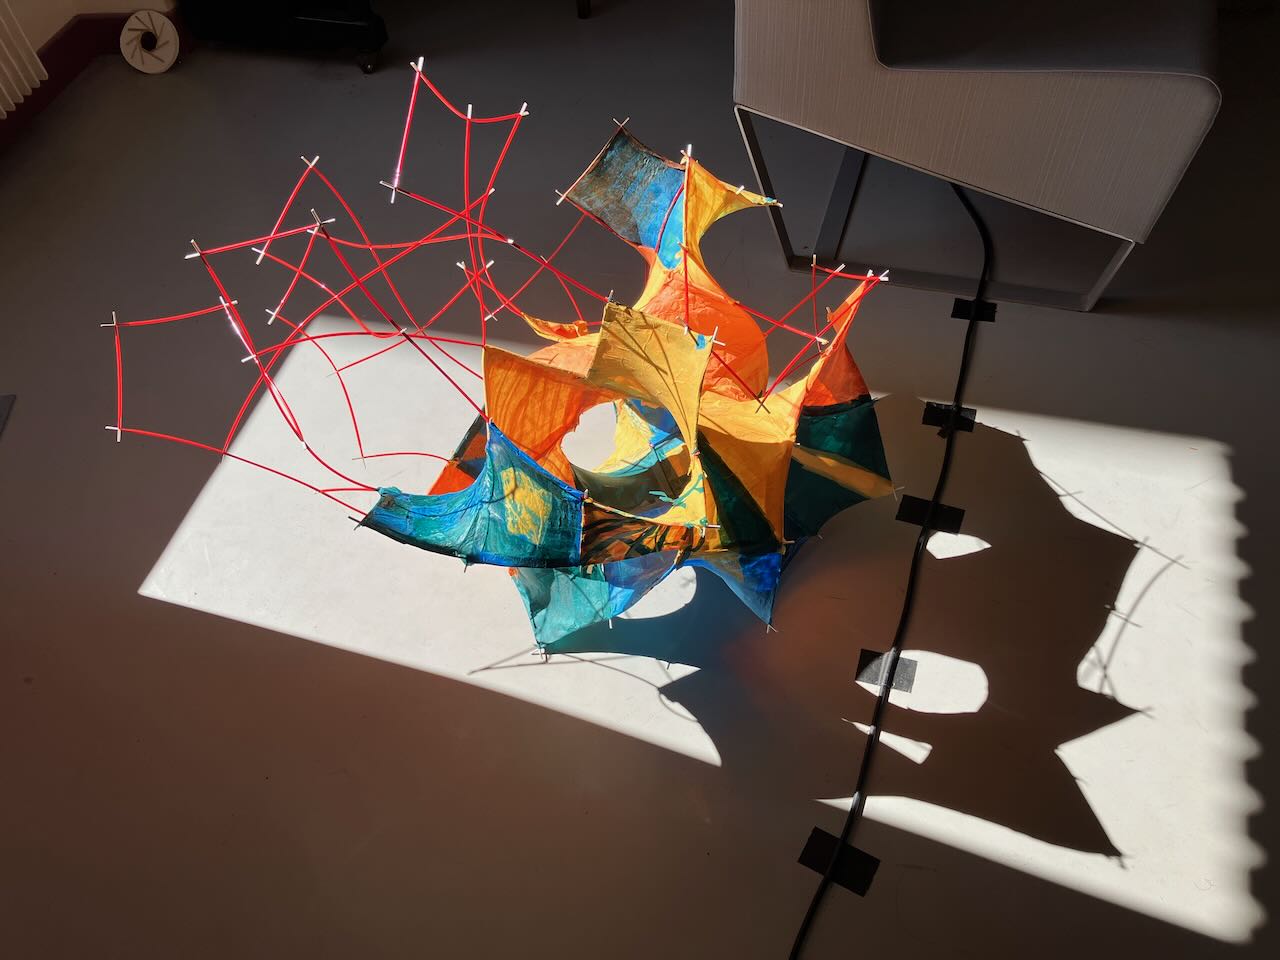
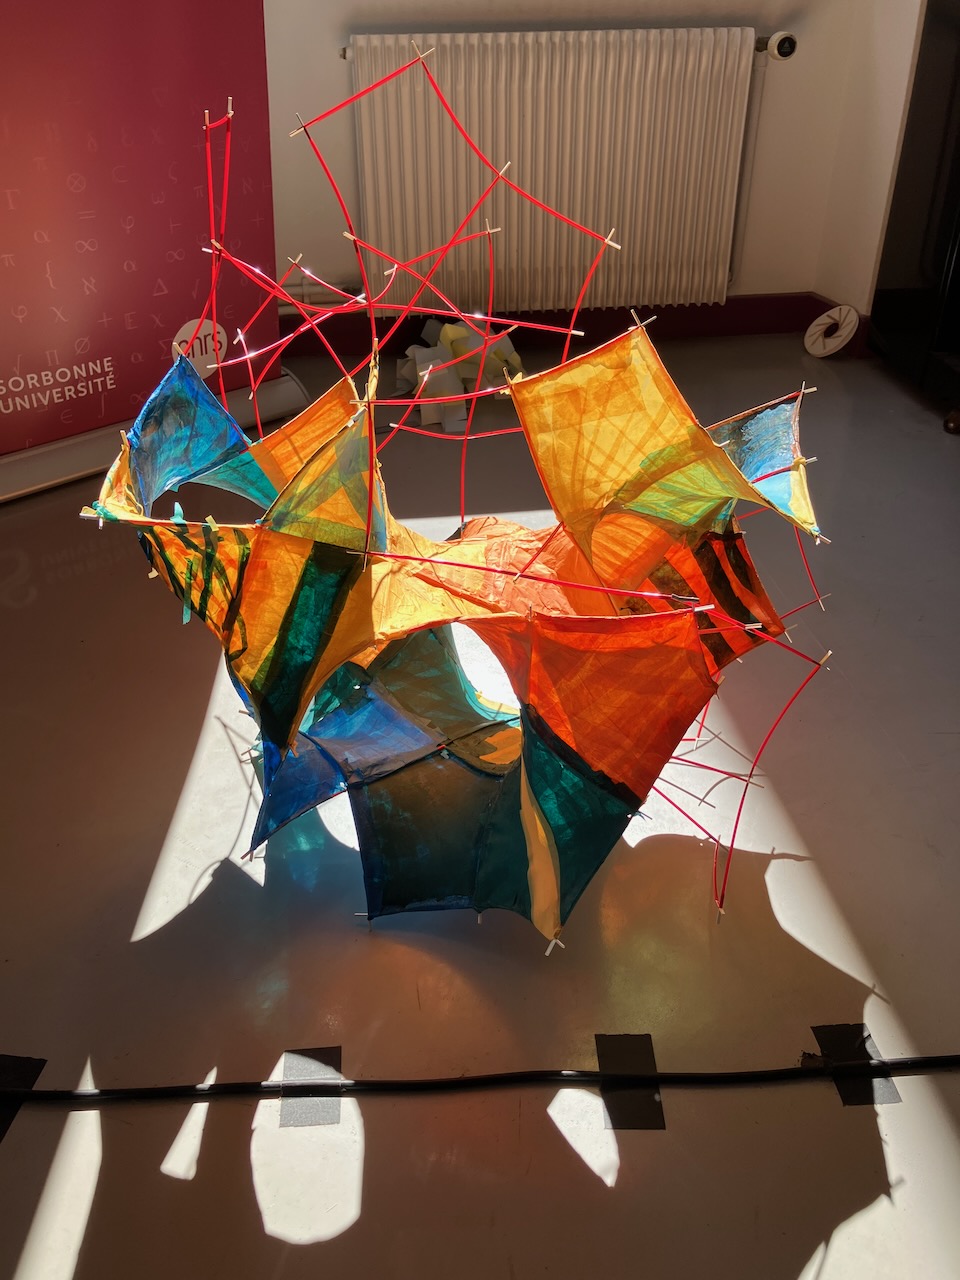
Here is a large collaborative object we made over the course of the trimester:
A hyperbolic piñata
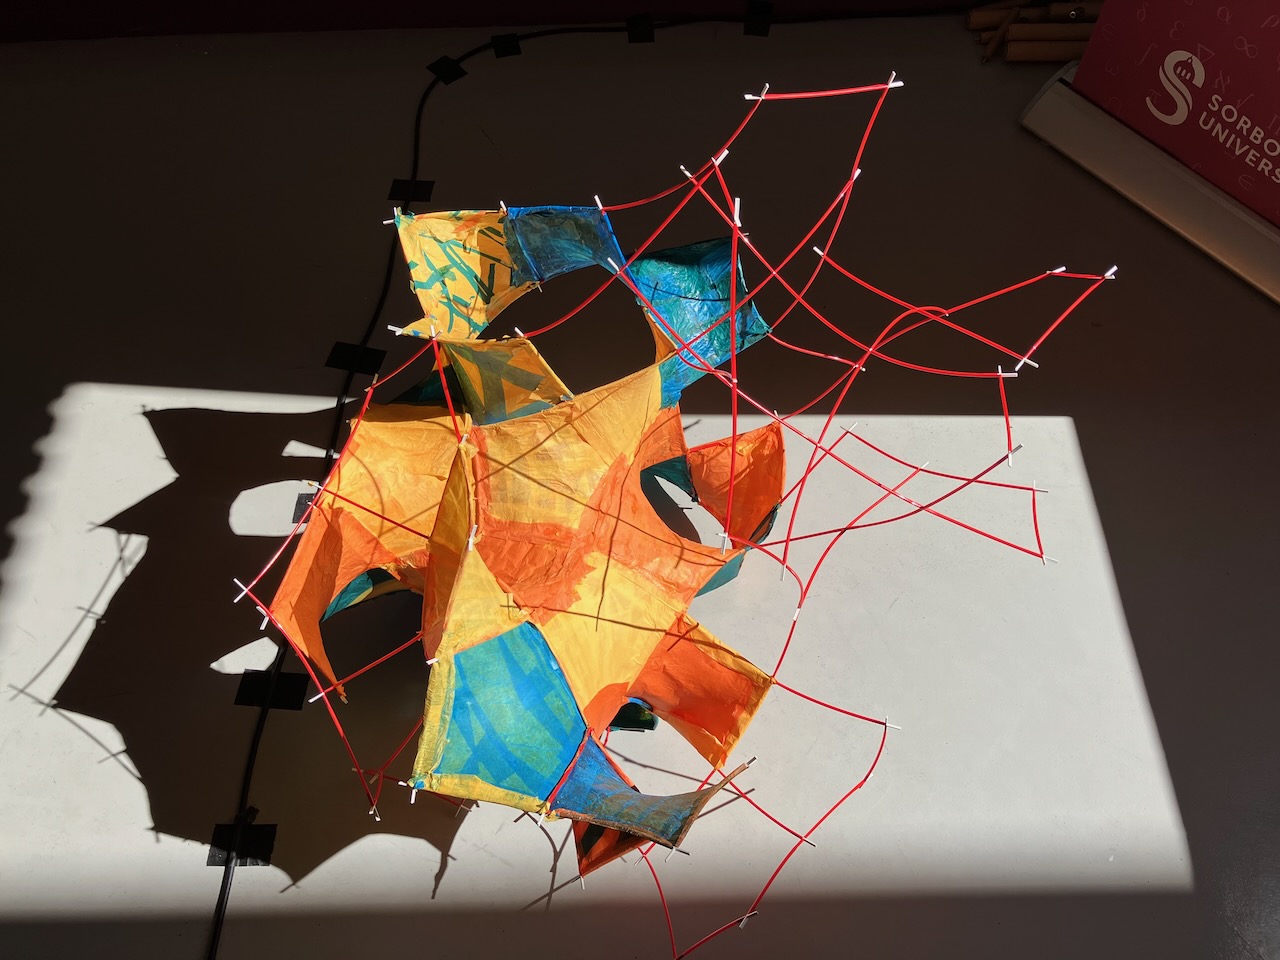
This system is well-adapted for 4-valent tilings. How could we not make a ${5,4}$ hyperbolic tiling, filling up the hyperbolic plane by right angled pentagons? It turns out, Hilbert doesn’t let you. As the tiling grew, it began to intersect itself. Whenever this happened, I simply attached the tiling to itself, adding a genus. The resulting mesh was hyperbolic, but unplanned. The topology and shape were dictated by the physics of the straws, rather than a mathematical decision. It feels organic.
This wireframe was sitting in the common area for about a month. It was very hard to read as a surface. So how can we fill it in? Alba and Chaim had the idea to use hyperbolic paper. She 3D printed pseudo-spherical molds, sized so that they held a right angled pentagon with side lengths equal to that of our straws. Then, we got tissue paper and craft glue, and layered up strips and strips of tissue paper on the molds.
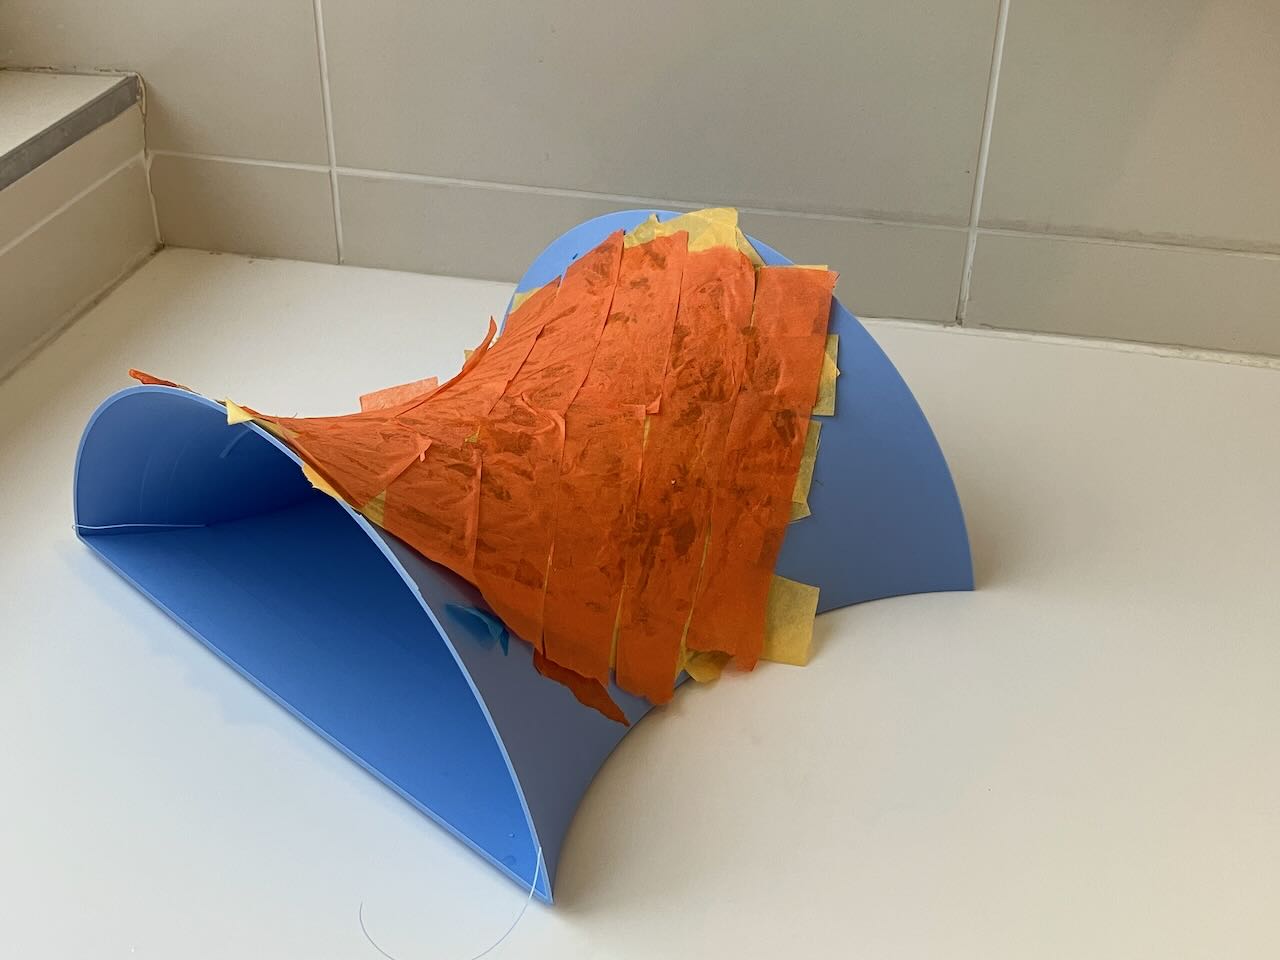
Hyperbolic mold
With paper drying. paper mold 3D printed by Alba Málaga
Once dry, we can peel off a Papier mâché pentagon of hyperbolic paper.
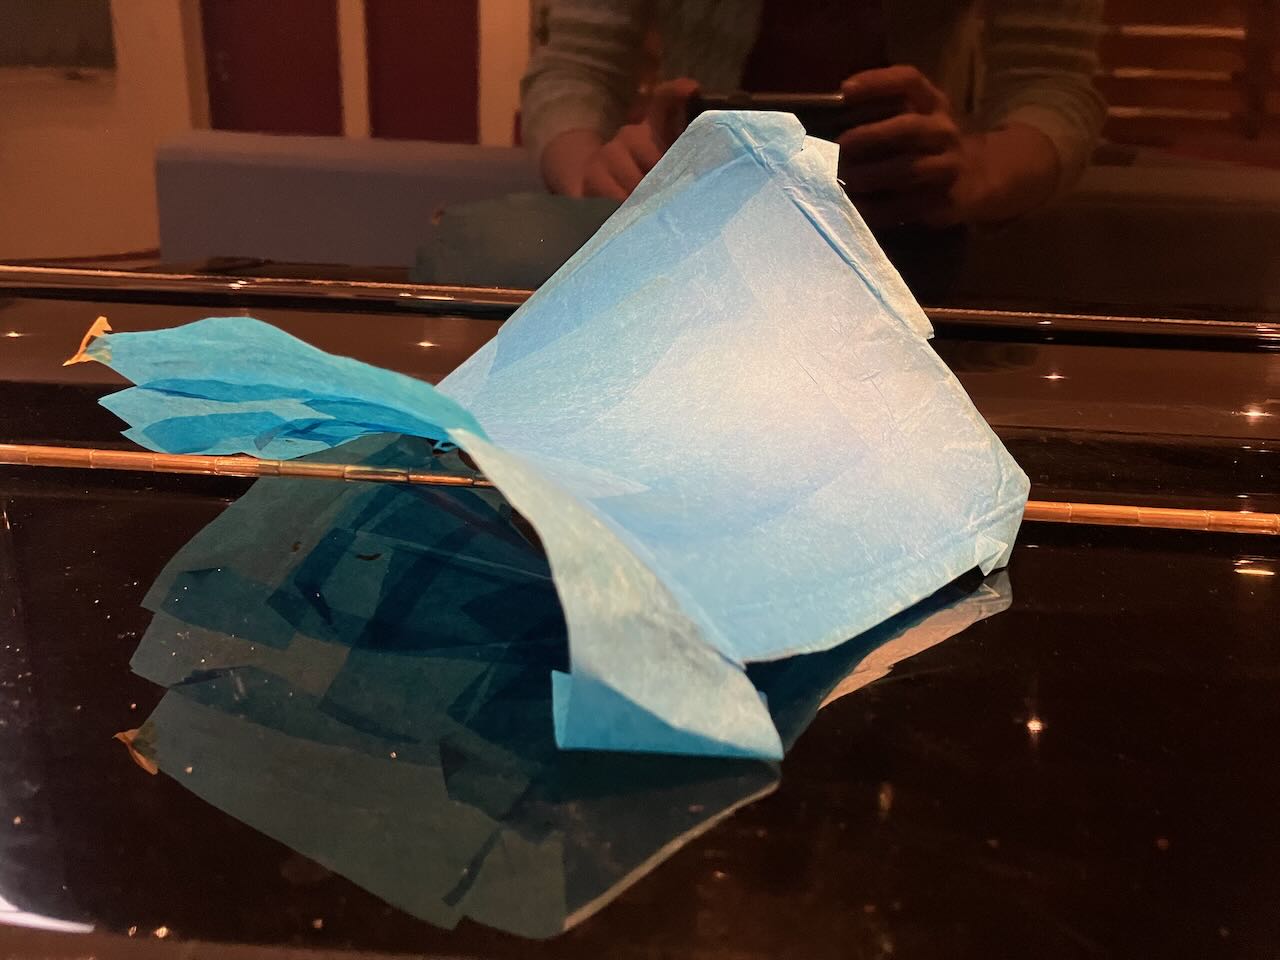
Hyperbolic paper
Time for mass production. For the rest of the trimester, one of the tables in the common area was unusable. It was always covered with paper, glue, and 8 3D printed hyperbolic molds with drying paper. Since each paper took a day to dry, this process stretched over many weeks.
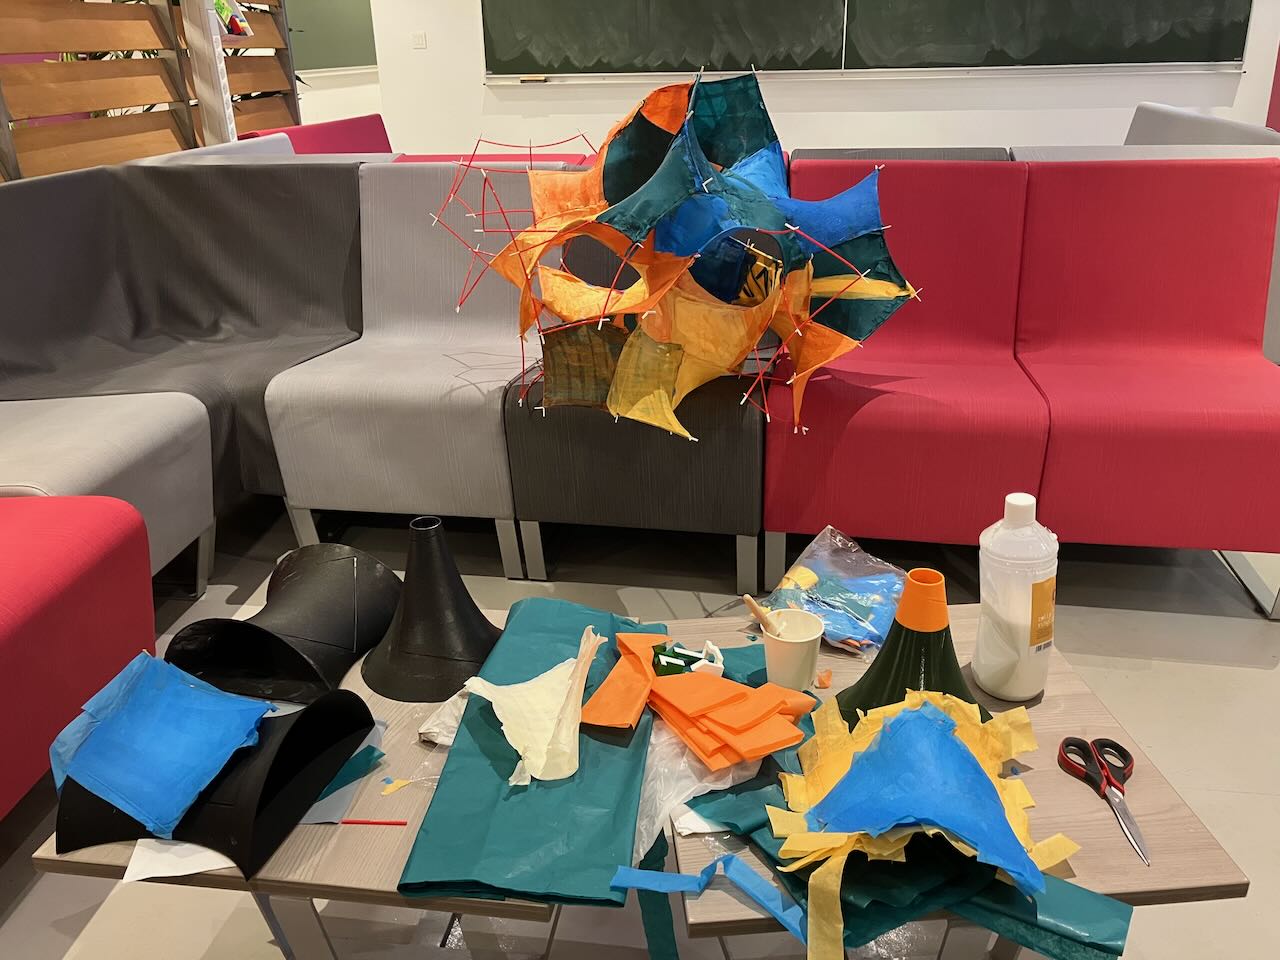
Construction zone
The state of the common area for much of the trimester
Then for the assembly, the pentagons were wrapped around the straws and glued to themselves. The pentagons were in all sorts of orientations and rotations, and were sometimes very twisted. Still, the paper (almost always) fit! The hyperbolic paper isn’t rigid. It can flex to any embedding of a right angled hyperbolic pentagon, meaning it can conform to the crazy boundaries set by the straws. It wasn’t always easy, but we made it happen. In the end, we built a very cool shape. This was exhibited in the Maison Poincare art show after the trimester.
This project was made by a village. Contributors include
- Bakul Sathaye
- Matthias Görner
- Ásgerður Jóhannesdóttir
- Rebecca Field
- Chaim Goodman-Strauss
- Me
- Alba Málaga
- Samuel Lelièvre
- Stacy Brown
Every panel is unique, just like the people who made them. Thank you everyone!