Weaving Pipe Cleaners
Summary:
Craft: weave pipe cleaners into mats. Discover how singularities in the weaving pattern forces the mat to curve in 3D.
Math: Examine how adding extra angle around a vertex produces negative curvature. See the shape the negative curvature imposes.

Summary
in the last couple of weeks, we learned how placing polygons together edge to edge can force 3-dimensional shapes – our first experience with curvature. Today we will apply this technique in a crafty way, in a much more expressive medium than regular polyhedra. We will weave together pipe cleaners, forcing curvature by introducing polygons in the weave with different number of sides. Using this, we can make a whole menagerie of fuzzy math critters.
Materials and setup
Materials
Each student will need
- around 25 pipe cleaners (they will need to reuse them)
- Occasional access to scissors For a class of 20 students, you can get 1000 pipe cleaners for 20 dollars, and (optionally) a pack of ballons for the class.
pipe cleaners naturally come ordered in blocks of colors. For each table of 3, I put 3 seperate colors (around 20 each)
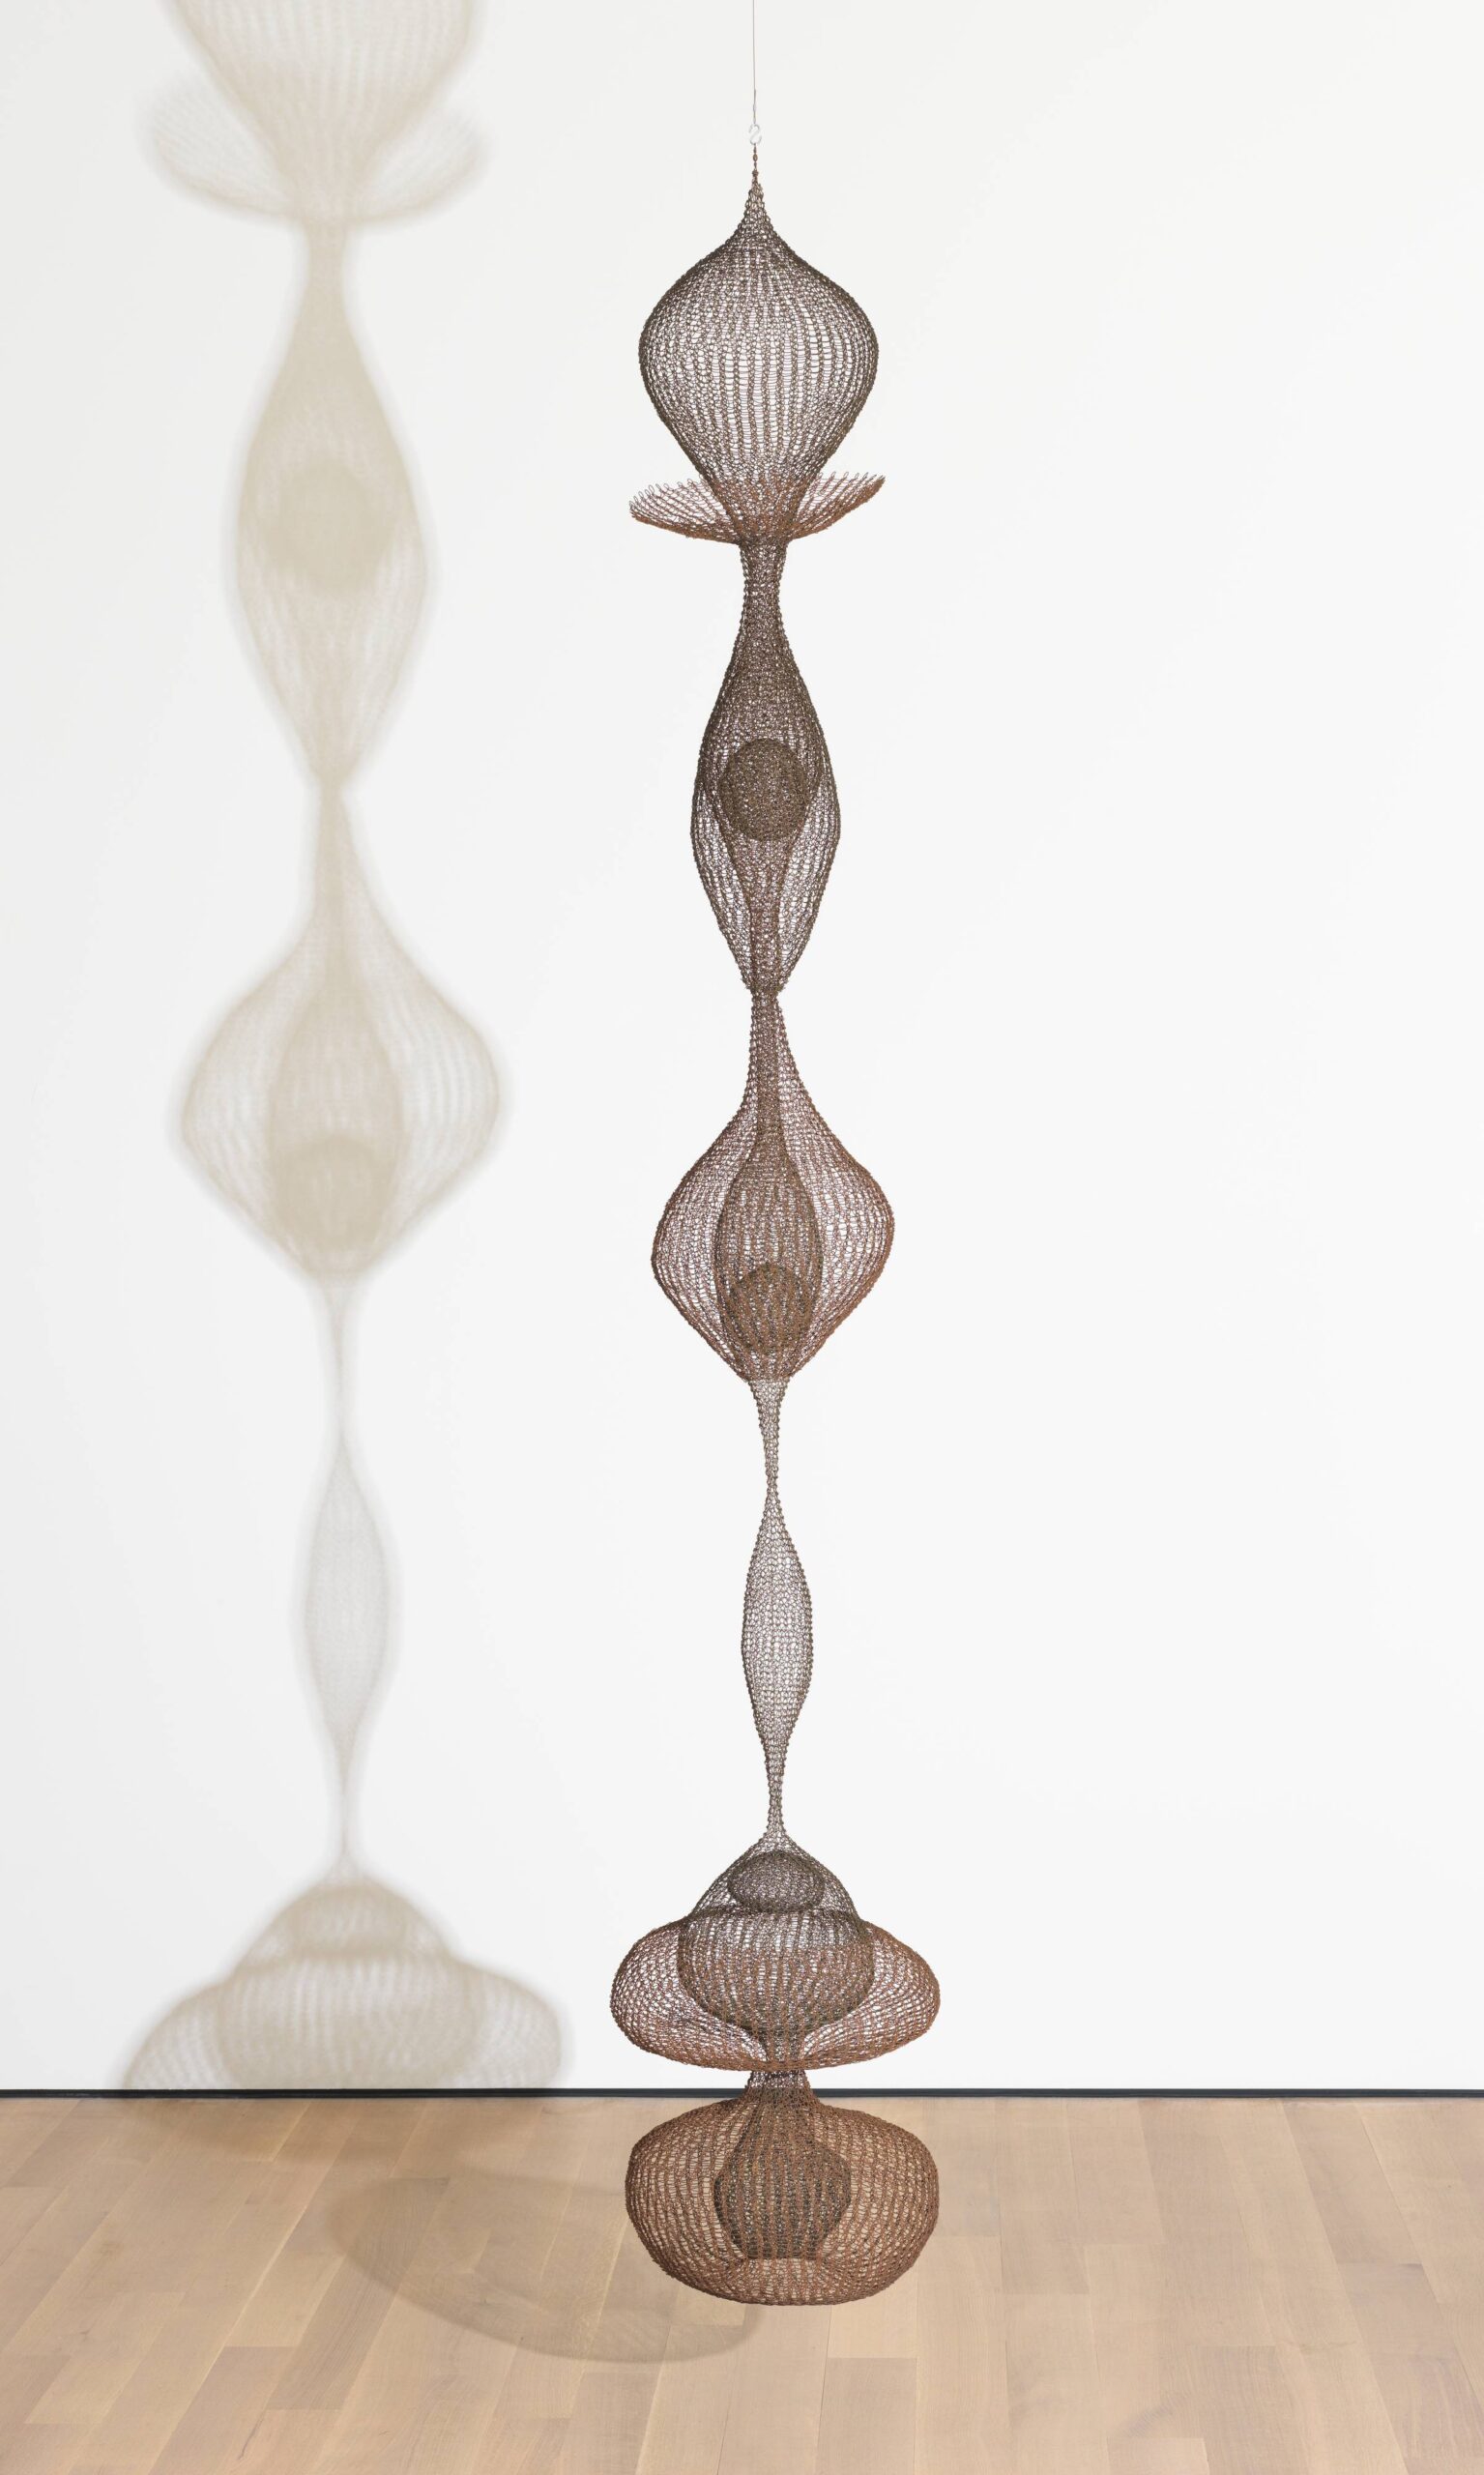
Artist:
Ruth Asawa. See more info here
Part 1: flat weaving
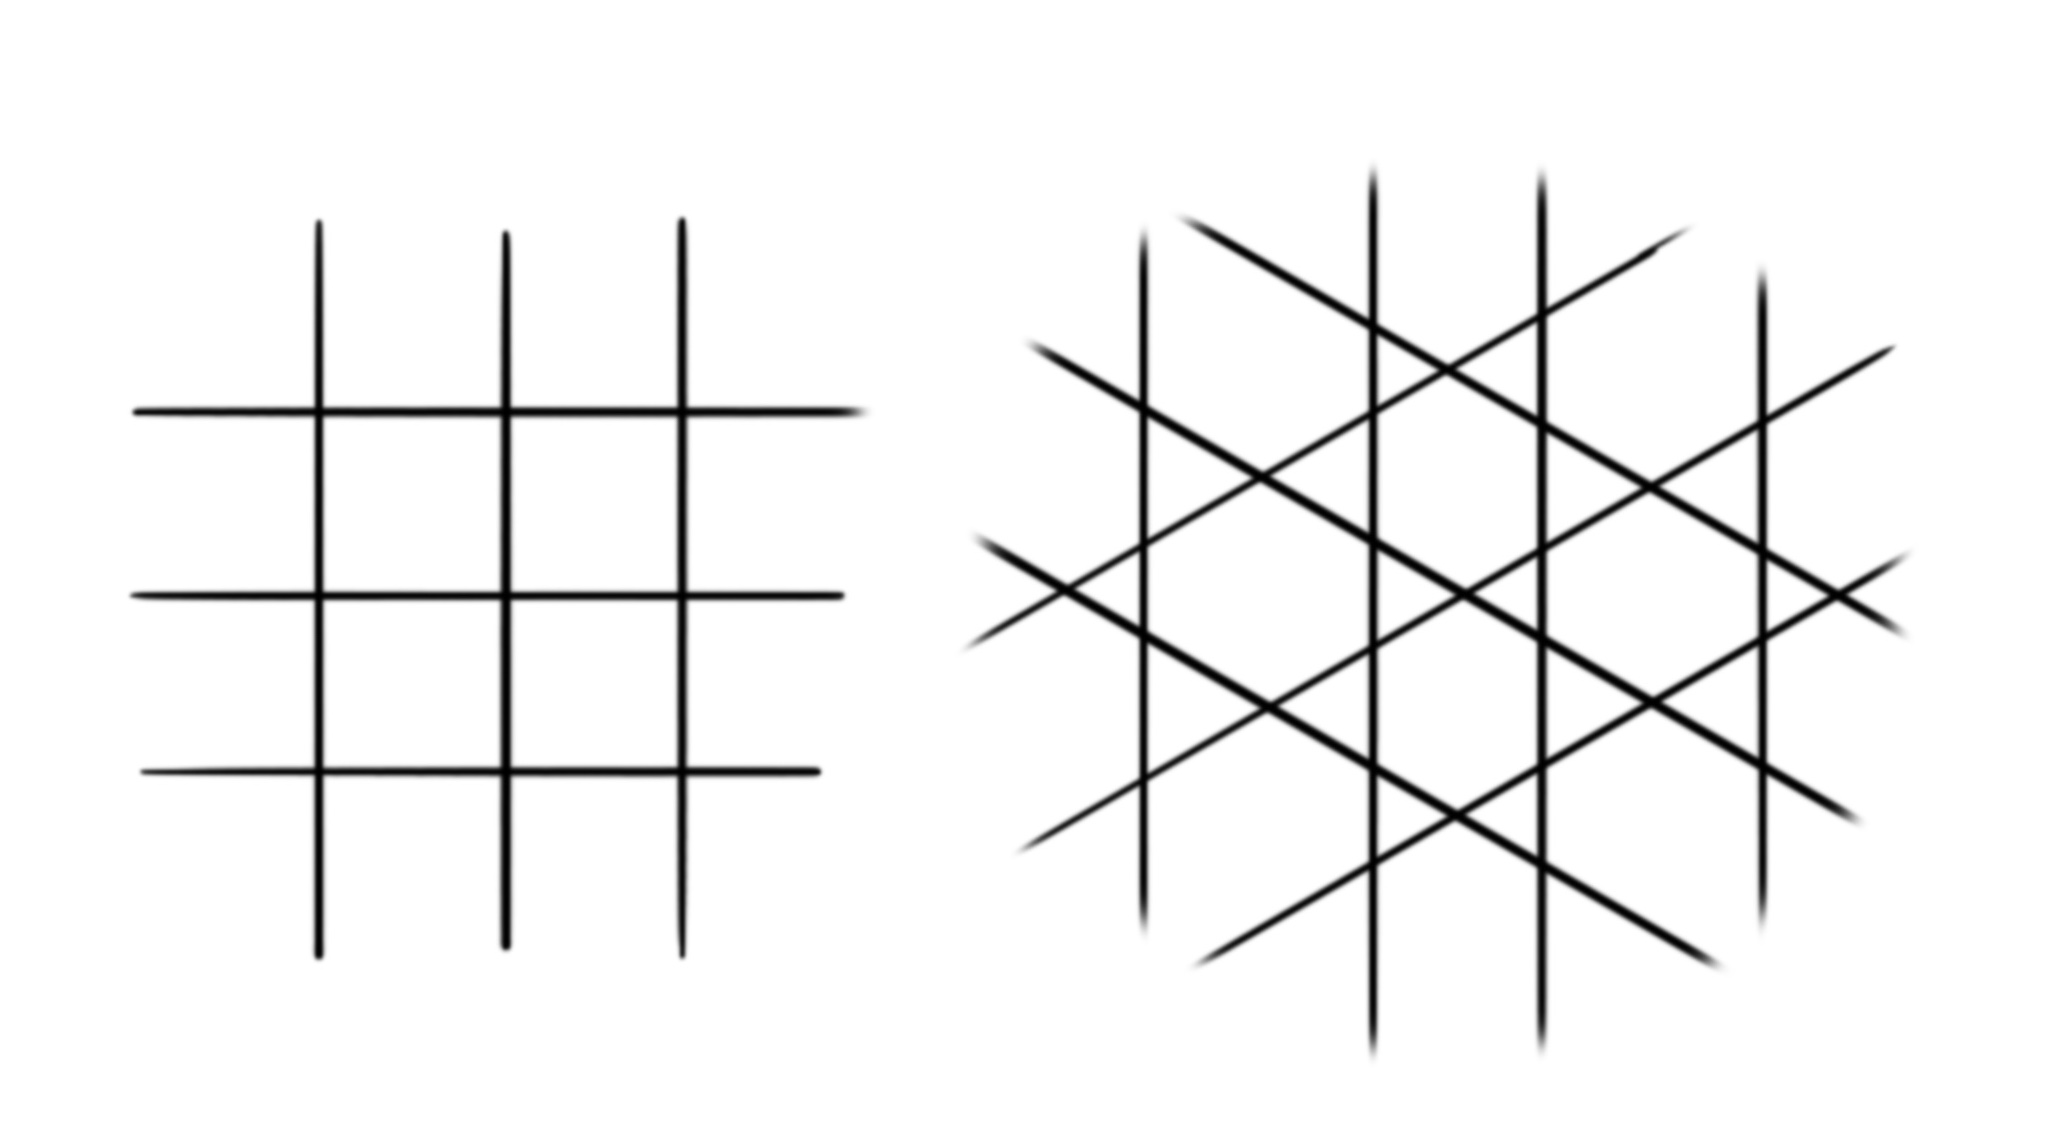
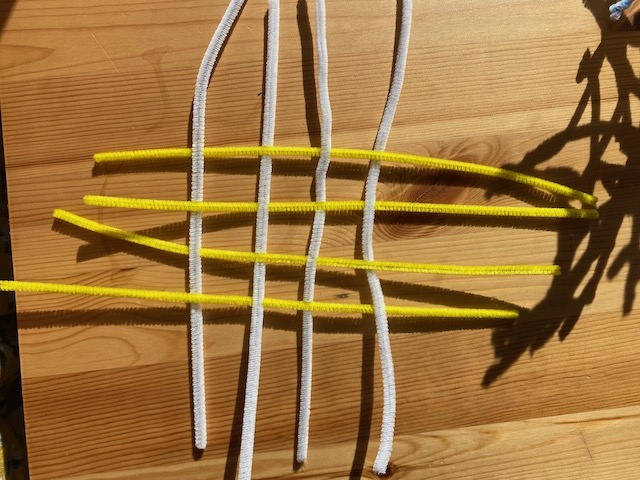
A weave is composed strands, following two simple rule:
- Along each strand, each time it crosses another strand it alternates going over and under.
- No three strands cross at a point
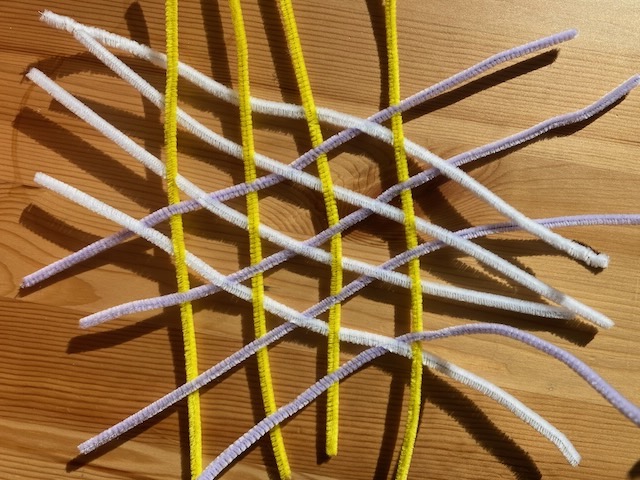
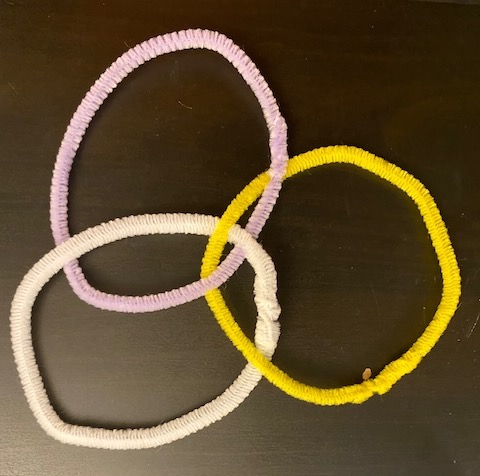
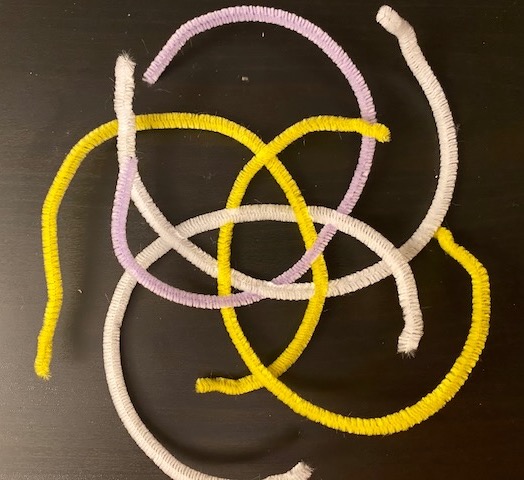
Question 1: Make a weave of pipe cleaners with these underlying patterns. Are there multiple ways to weave these patterns?
Question 2a: Examine each of the polygonal regions of the woven lattice. How do the crossings behave for the strands bordering the region? As you follow clockwise along the border, see which crossings are over and which are under. Try this with a few of the polygons. What do you notice? Can you explain what you see?
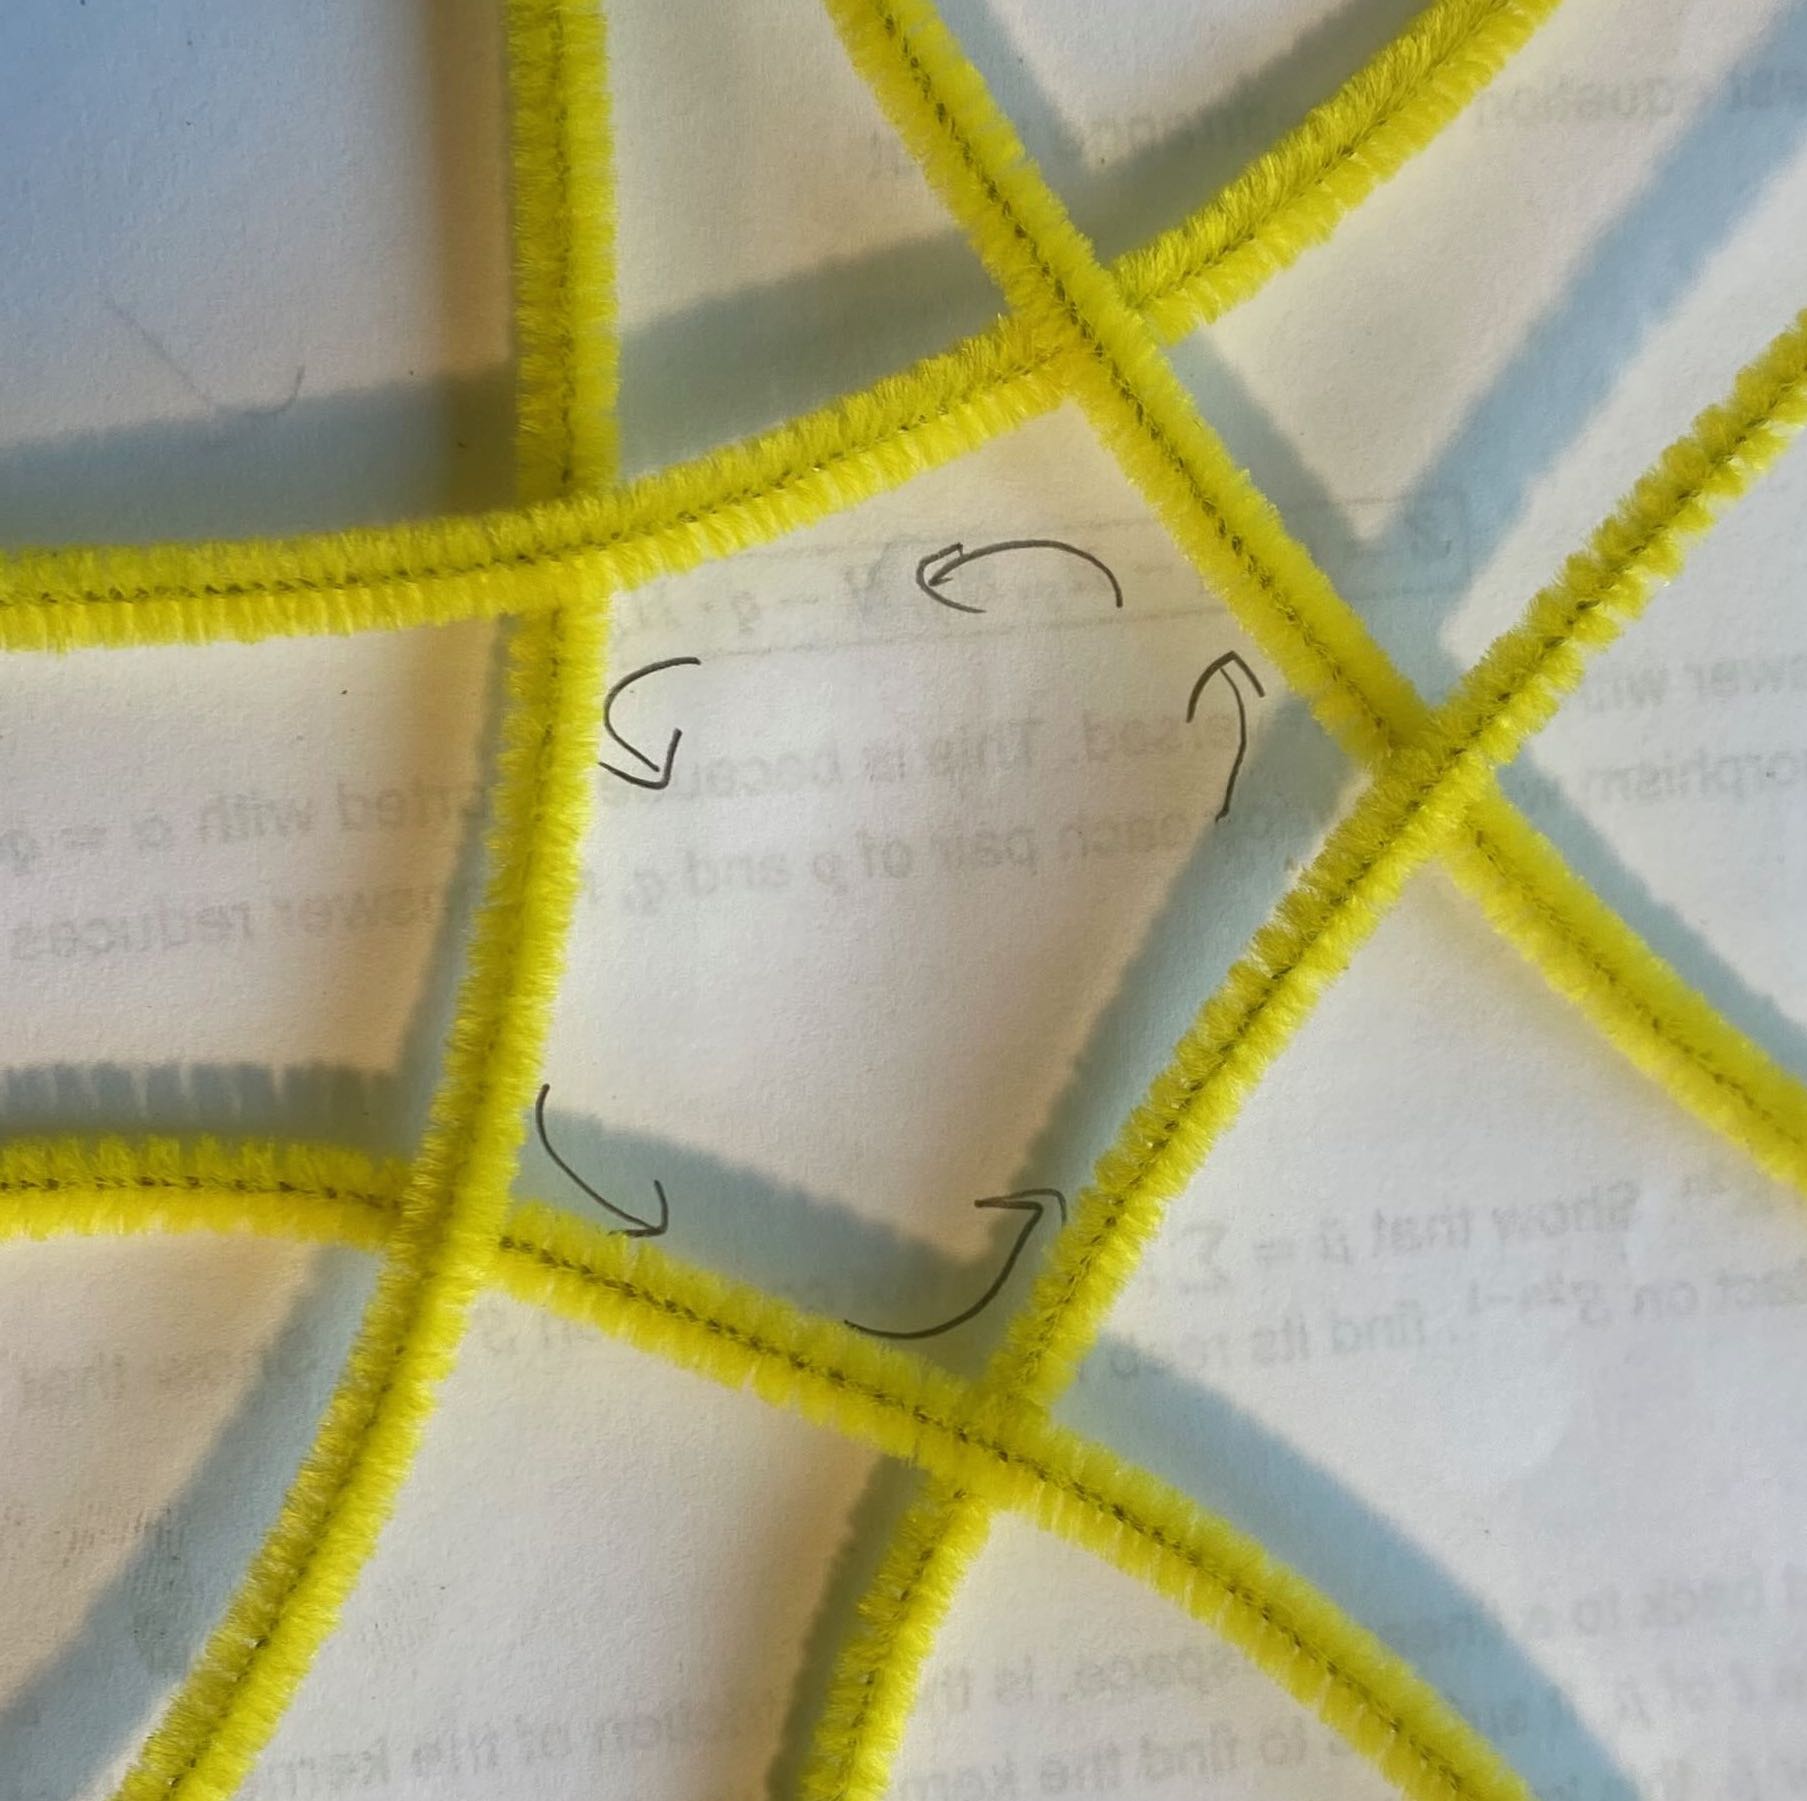
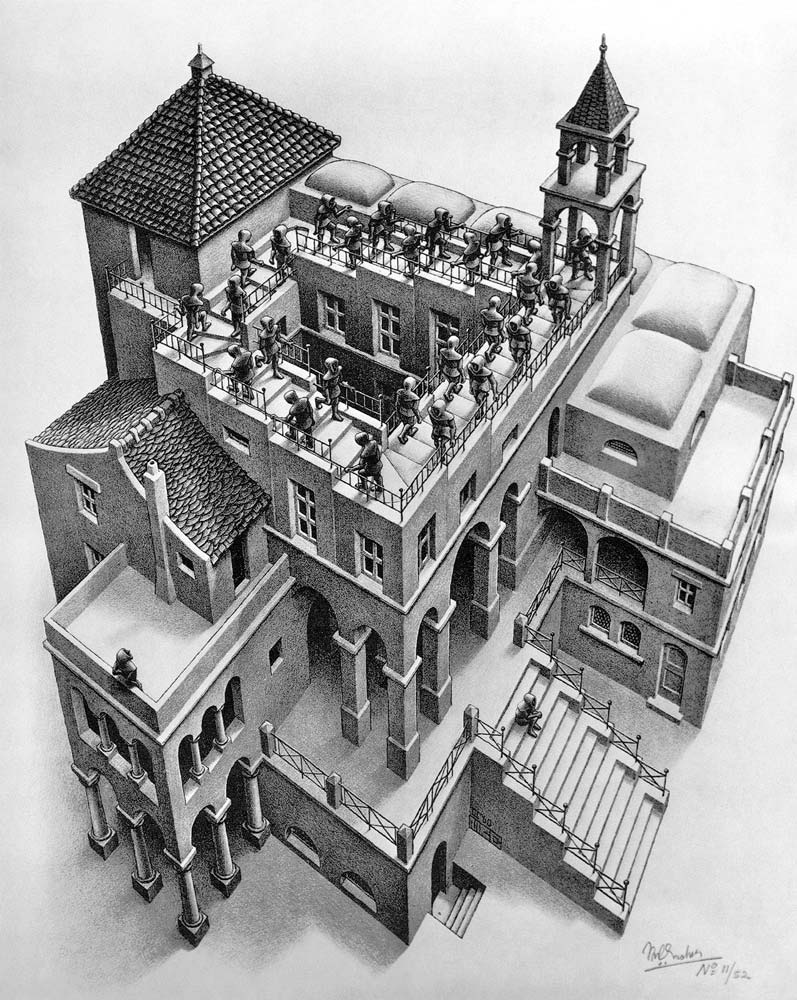
Think of each woven polygon like a staircase. As you move around the region clockwise (always turn right!), we have to step “up” or “down” to get to the next pipe cleaner. Each polygon is a very funky staircase: You start at one point, only walk upstairs or downstairs, and end up at the same place. We’ll call the two types of polygons “upstairs” and “downstairs” polygons. Similar “impossible figures”, like the staircase we described, influenced the work of artists like M. C. Escher, see below. Notice how traveling the oppisite direction turns an upstairs into a downstairs polygon – we must always be moving clockwise!
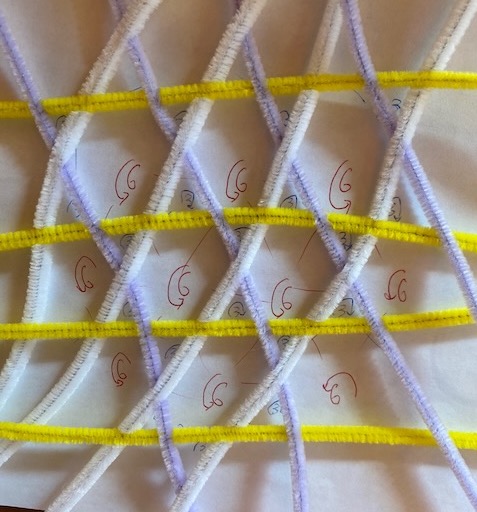
Question 2b: (optional, but cool) . Place your woven lattice over a piece of paper. Mark the centers of one of the upstairs regions types in red, and the downstairs regions in blue. Connect two dots if their region is of the same type, and they share a corner. What are you drawing? how do the two colors relate to one another?
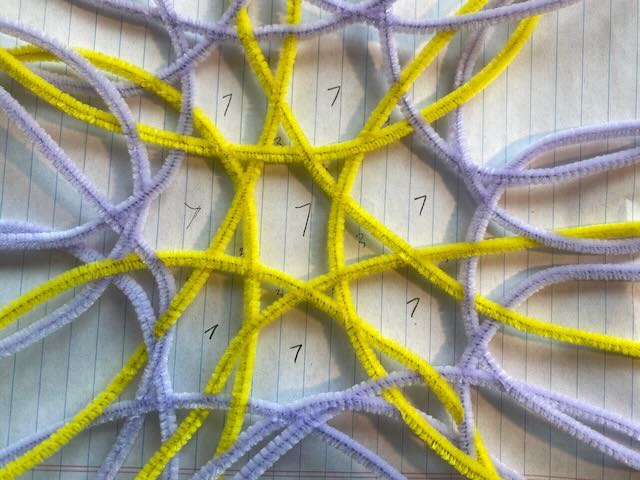
In these simple weaving patterns, the positive regions and negative regions are everywhere the same shape. We can classify these regular woven patterns using two numbers, the number of sides of the upstairs regions and the number of sides of the downstairs regions. For the square weave, both upstairs and downstairs are squares, so we write the weaving pattern as □↗□↘. The kagome lattice has 3 sided and six sided regions, so the pattern is △↗⬡↘ or ⬡↗△↘, depending on which is upstairs and which is downstairs. (these two weaves are mirror images of one another). These should remind you of the three ways to tile a plane with equilateral tiles:
- 4 squares around each vertex – 4□
- 6 triangles around each vertex – 6△
- 3 hexagons around each vertex – 3⬡
Part 2: curved weaving
The last couple of weeks, we experimented with putting too many or too few polygons around each vertex. This forced things to curve in the third dimension. Let’s try the same trick here.
Question 3: make a woven pattern with all (geometically) squares but exactly one triangle. Can you make it so it continues infinitly, still with only one triangle?
Answer and pedagogical notes
Introduce the question by asking for four sided things, instead of specifically squares. Students will make something that looks like this
Insert picture of flat triangle thing
Insist that they continue out for two layers, like above. Say something like, “Are you sure you can keep this going without adding more triangles?”
Next follow up with “Those don’t look like squares! those look like rectanges! Can you rearrange them to be truely square?” This part is a good puzzle – to get everything to be even, things need to bend into the third dimension. Here’s the result:
Picture of bent triangle
If students are so inclined, challenge them to complete this into a cube, assembling 8 of these triangles together.
Picture of a cube
Question 4: Start with one of your flat lattices. Modify it by choosing one polygonal region, and adding or removing an edge. Explore – how does this relate to curvature? Here are some guiding questions:
- Can you have such a lattice made out of straight lines on the plane? How would you need the lines to curve?
- If you tried to realize this in the plane, do the polygonal regions stay regular? If you rearrange the regions to be as regular as possible, can it still lie in the plane?
- Qualitatively, what is the difference in the resulting shape after removing / adding an edge? How does the number of edges added/removed affect the resulting shape?
- What happens if you modify the lattice in multiple places? what if you add edges in some vertices and remove them in others?
Here are some suggestions:
- Start with $\{4,4\}$, and turn one square into a pentagon
- Start with $\{4,4\}$ and turn one square to a triangle
- Start with $\{6,3\}$ and turn one hexagon into a nine-sided polygon
- Start with $\{6,3\}$ and turn one hexagon into a triangle Make sure you have at least 2 woven layers around the modified vertex, this makes it easier to see the effects.

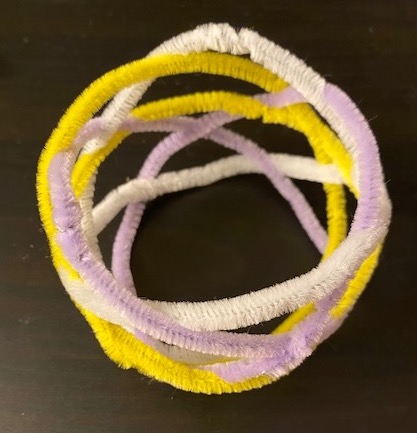
Part 3: Symmetric weaving
We’ve seen how local modifications of the waving lattice changes the overall shape. But what if we applied these modifications everywhere? Instead of just 1 pentagon, have all pentagons. This should let us weave curved lattices.
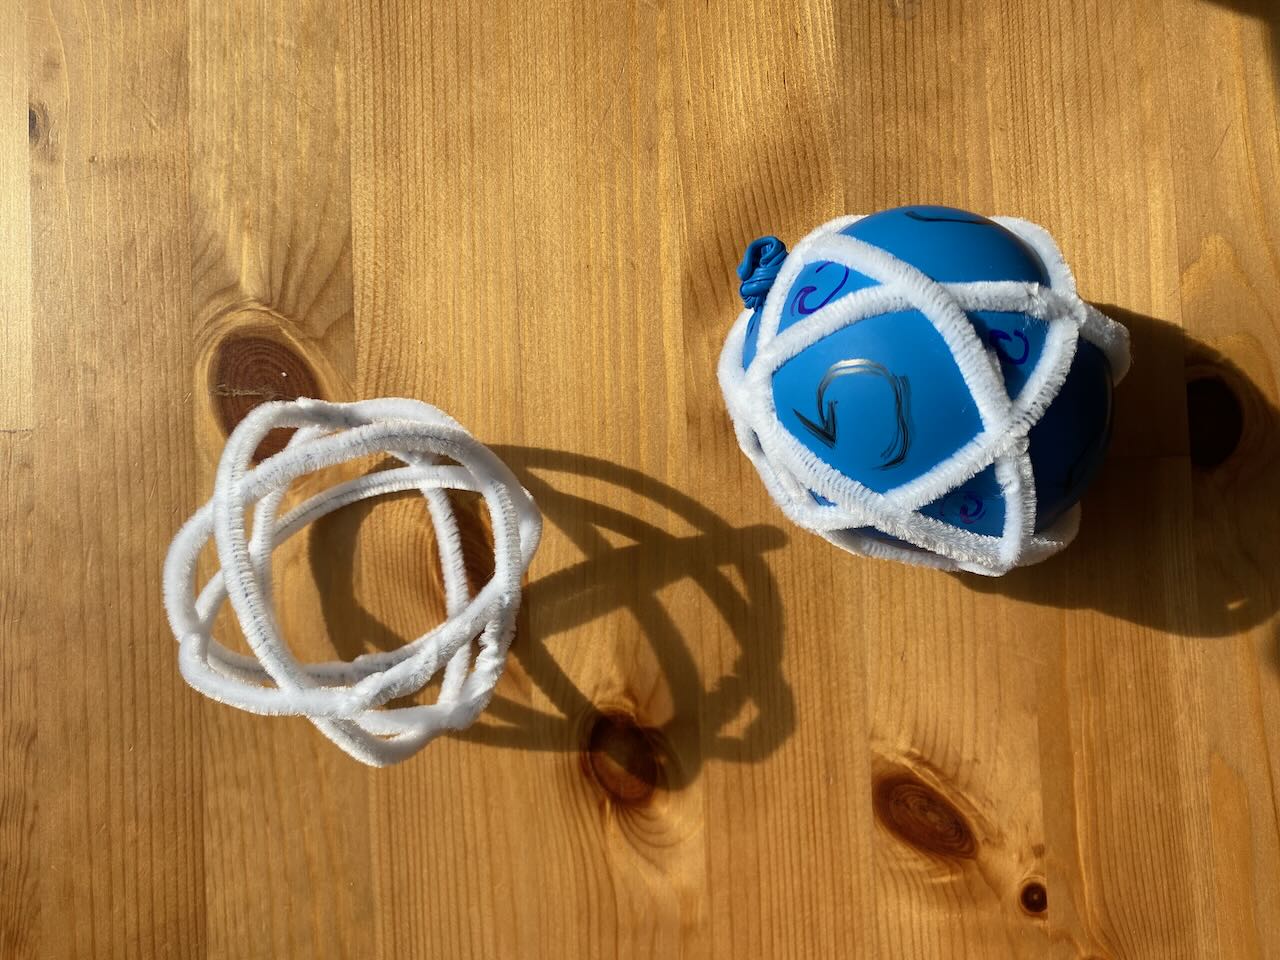
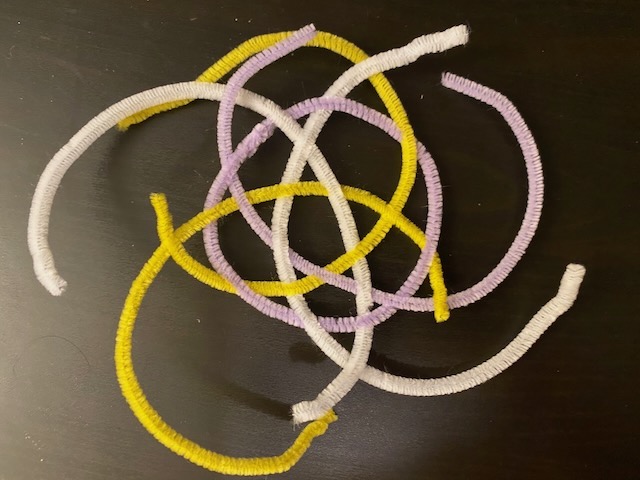
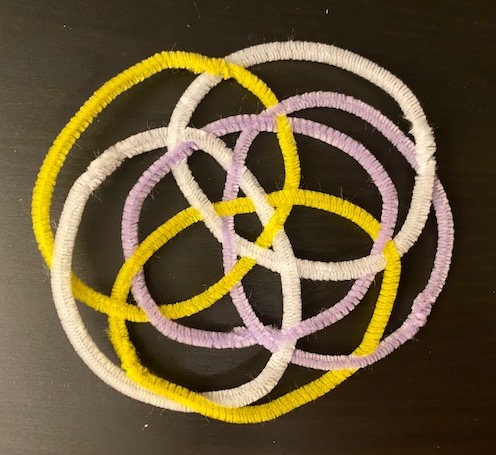
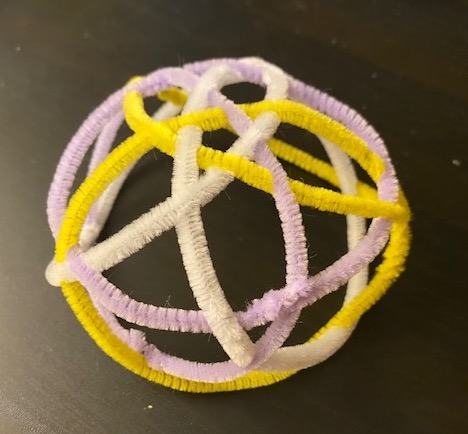
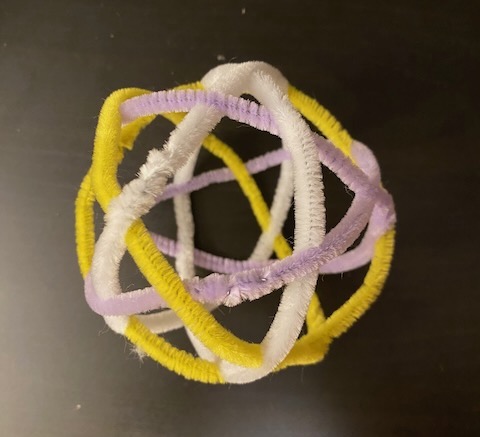
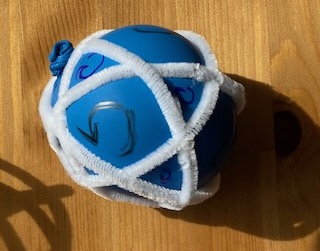
Question 4: Weave a $\{3,3\}$ lattice. Once you make the lattice, rearrange it so that each triangle is the same size. What shape do you get? How do you connect it with the $\{3,3\}$platonic solid
(Hint: try to weave it from circles in the plane)
Bonus question: Weave the other 2 pairs of platonic solids: The $\{3,4\}$ and $\{3,5\}$ lattice.
Question 5: Weave a hyperbolic lattice, like the $\{3,7\}$ or $\{5,4\}$ weave. How does the result compare to the flat weave with a single singularity you constructed in question 4?
Some remarks:
- Try constructing the weave in layers around a central polygon. You can get something recognizable with two layers, which doesn’t take very long. Three layers looks great, but it takes a very long time.
- I found $\{3,7\}$ is much easier to work with than $\{5,4\}$
Guide for weaving hyperbolic lattices
Here are step-by-step instructions for making a $\{7,3\}$ lattice.
Materials: Scissors, 32 pipe cleaners. Along the way, you will cut the pipe cleaners as:
- 7 full length pipe cleaners (layer 1)
- 14 half-length pipe cleaners (layer 2)
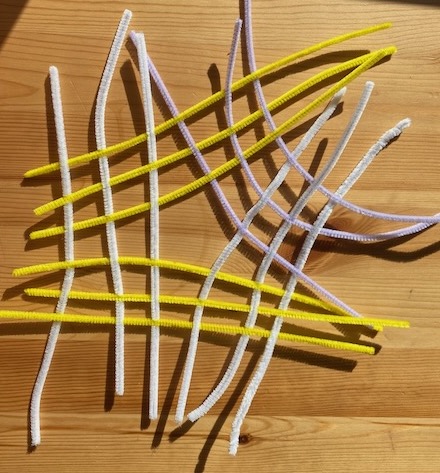
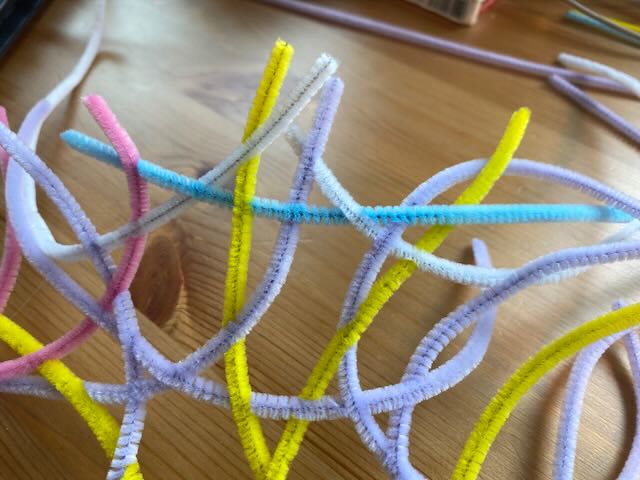
- 54 1/3 length pipe cleaners (layer 3) ### step 1: Layer 1 We start by making the first heptagon. If we tried to make the heptagon out of straight pipe cleaners, we would get some unwanted intersections. To help us out, we should pre-bend the 7 layer 1 pipe cleaners.
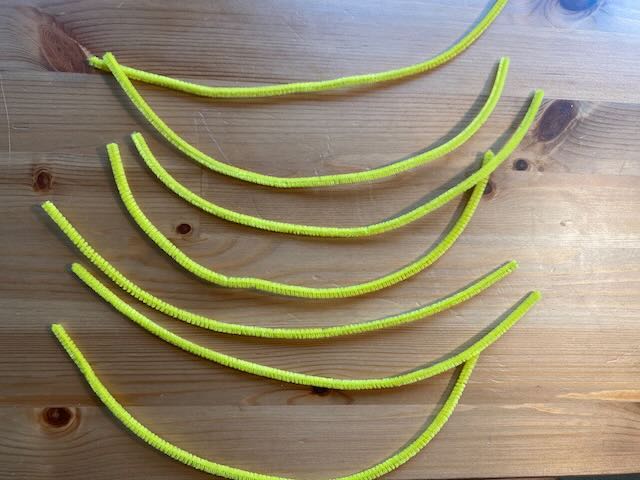
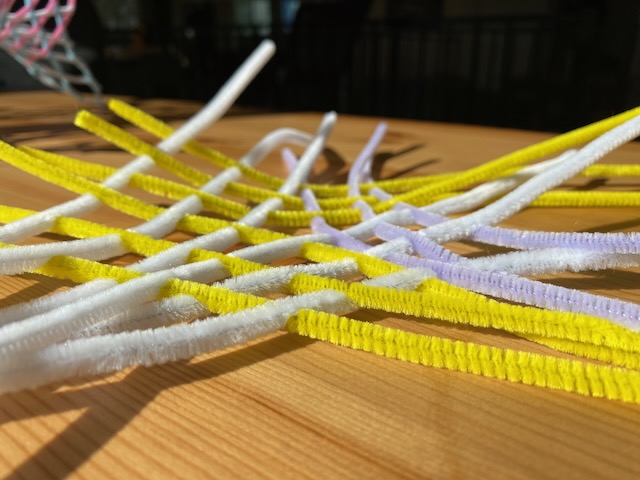
Next, weave them into the heptagon. Continue the weaving to the seven triangles attached to the border of the heptagon, Make sure to have the lines bend outwards, to remove unwanted intersections. (I didn’t do the triangles in this picture). With this, we have finished the first layer.
Step 2: Layer 2
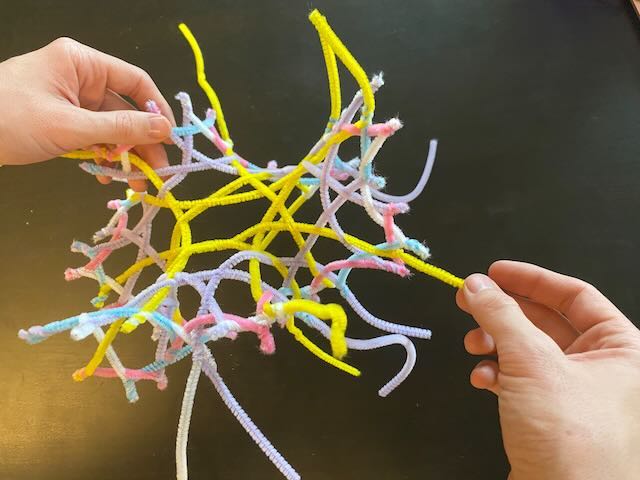
This parts somewhat more involved. Start weaving in the third layer, with the 1/3rd lenght pipe cleaners. I used 3 alternating colors for the last layer. Heres a sample:
Step 2: Layer 3
This part is somewhat more involved. Start weaving in the third layer, with the 1/3rd lenght pipe cleaners. I used 3 alternating colors for the last layer. Heres a sample:
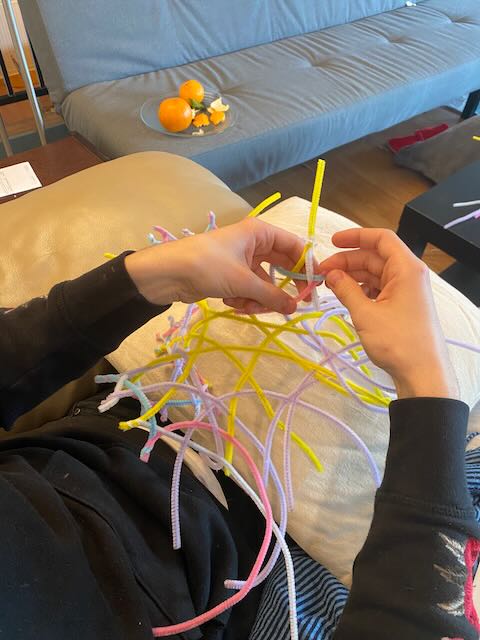
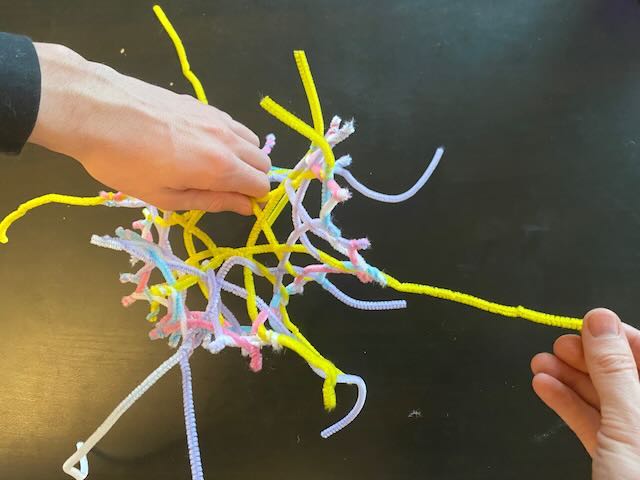
We want to attach the pipe cleaners as we go, ensuring the lattice doesn’t unwind. Whenever we have a triangle formed on the outer layer (for example, with the pink and blue above), twist the ends together. I always chose my twist direction using the weaving rules. Some of these outer strands will cross 4 other strands before ending (the blue), while others will only cross 2 (the white on the left side). For those that cross 2, I cut the 1/3 length into 1/6 before twisting the ends. Here’s a picture of my little mitts doing some twisting!
Keep going at it, and you’ll eventually finish the third layer. This part took me about an hour.
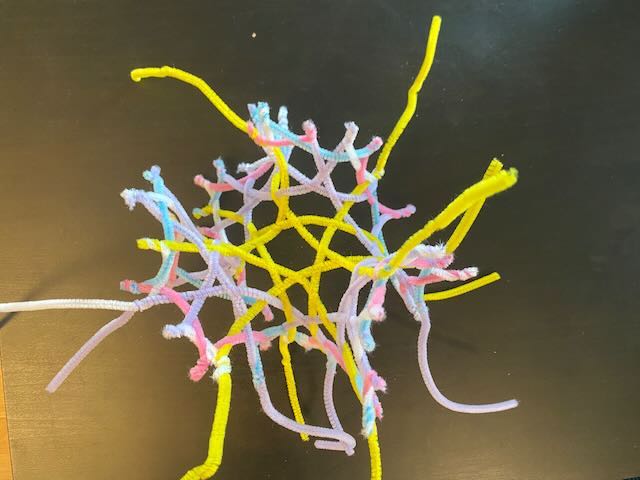
Step 4: tightening
If all is well, you should have constructed an honest to god hyperbolic lattice! But, it probably looks a little janky. Too flat in the middle, to bunched up on the outside, with unevenly sized heptagons in the middle. We can fix this by tightening up the layer 1 stands. We started with them long to make it easier to work with, but we don’t need to work with it anymore! For each layer 1 strand, unwind one end and pull.
As you pull, make sure to rearrange the crossings to avoid bunching. Tighten all the strands by an equal amount, whatever length looks good to you. Rearrange things to make each heptagon regular and equal sized. Here’s what I got as a result. All thats left now is to trim off the excess.
Math discussion
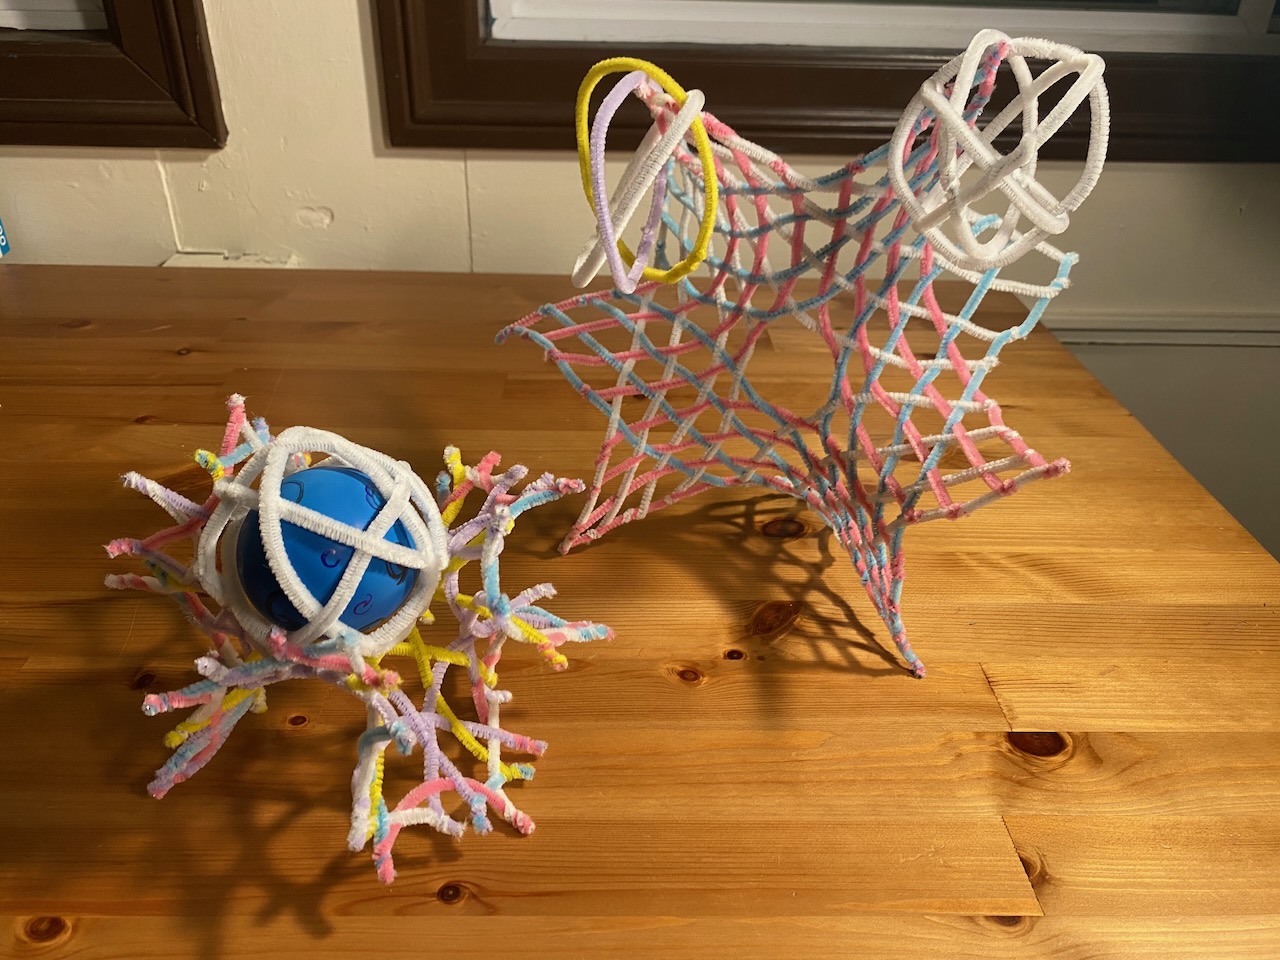
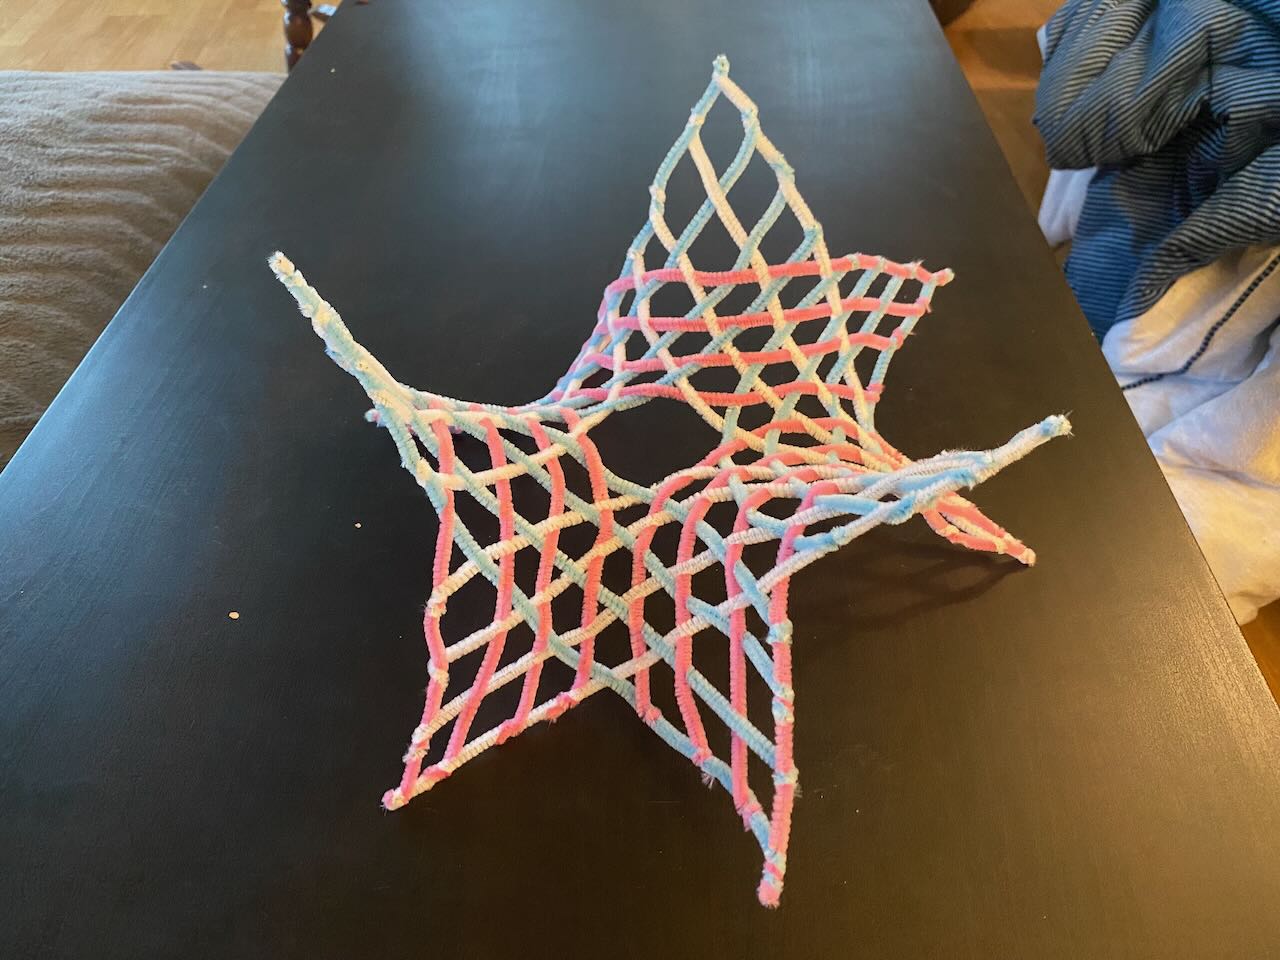
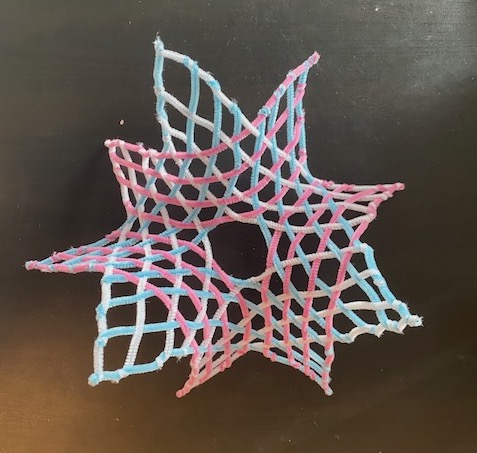
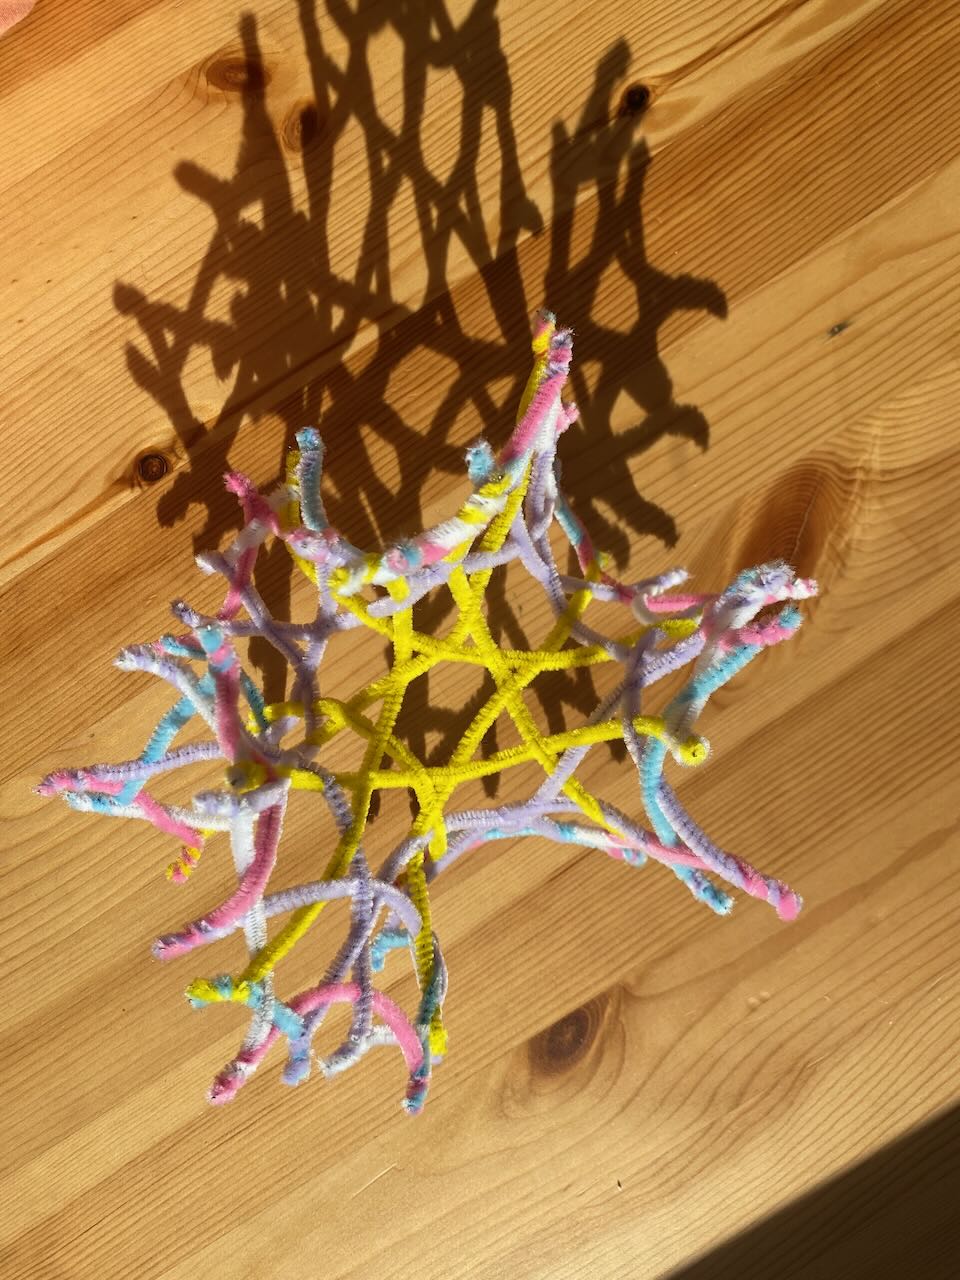
Here’s the final product:

Notice how different the flurls look, compared to the localized change we did before (left versus right object). The localized addition of an edge caused localized curvature. While this made the entire surface pop into 3D, it still locally looks flat. In contrast, the $\{7,3\}$ weave just keeps curling, bit by bit, everywhere on the surface. Each new layer introduces new flurls. You can imagine how dense and wrapped up the fourth layer would have to be. A negatively curved object in 3 dimensional space quickly becomes unmanageable.
This construction taught us more morals about hyperbolic space. One is the extreme tedium of step three, an evergreen problem with negatively curved crafts. Hyperbolic space is really big. Each new layer requires exponentially more strands, and hence exponentially more work. With weaving, 2 layers is too few to see much interesting, and 3 layers already is a sizable project. It’s a tough world.
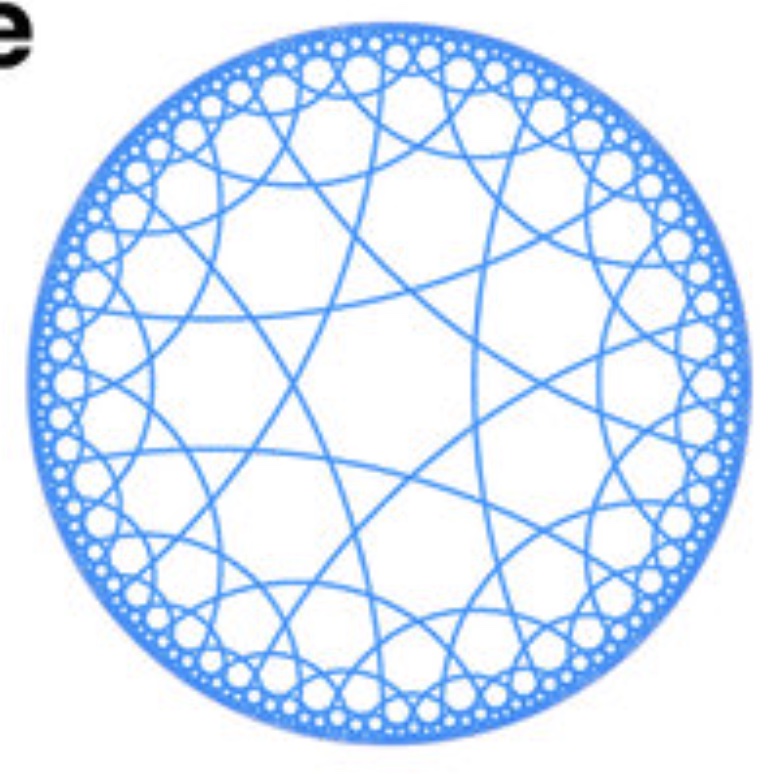
Curved weaving becomes exciting when the pipe cleaners pop out of the plane. In this experiment, the transition happens between layers 2 and 3. Back in step 2, to fit the lattice in the plane, we needed the pipe cleaners to curve. The second layer needed to curve more strongly. Compare the picture in section 2 with a picture of the $\{7,3\}$ kagome lattice (Also called a Triheptagonal tiling) in the hyperbolic plane. In the picture below, the lattice is drawn in the Poincare disc representation of he hyperbolic plane (from Hyperbolic lattices in circuit quantum electrodynamics ). This shows a universal truth, that we can fit a hyperbolic object on a disc if we squish and squash the outer parts the right amount.